Crafty Blogs
Showing posts with label Children's artwork. Show all posts

Thursday, 6 May 2010

May Featured Artist and Competition Winner


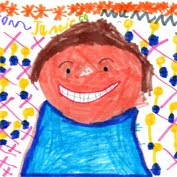
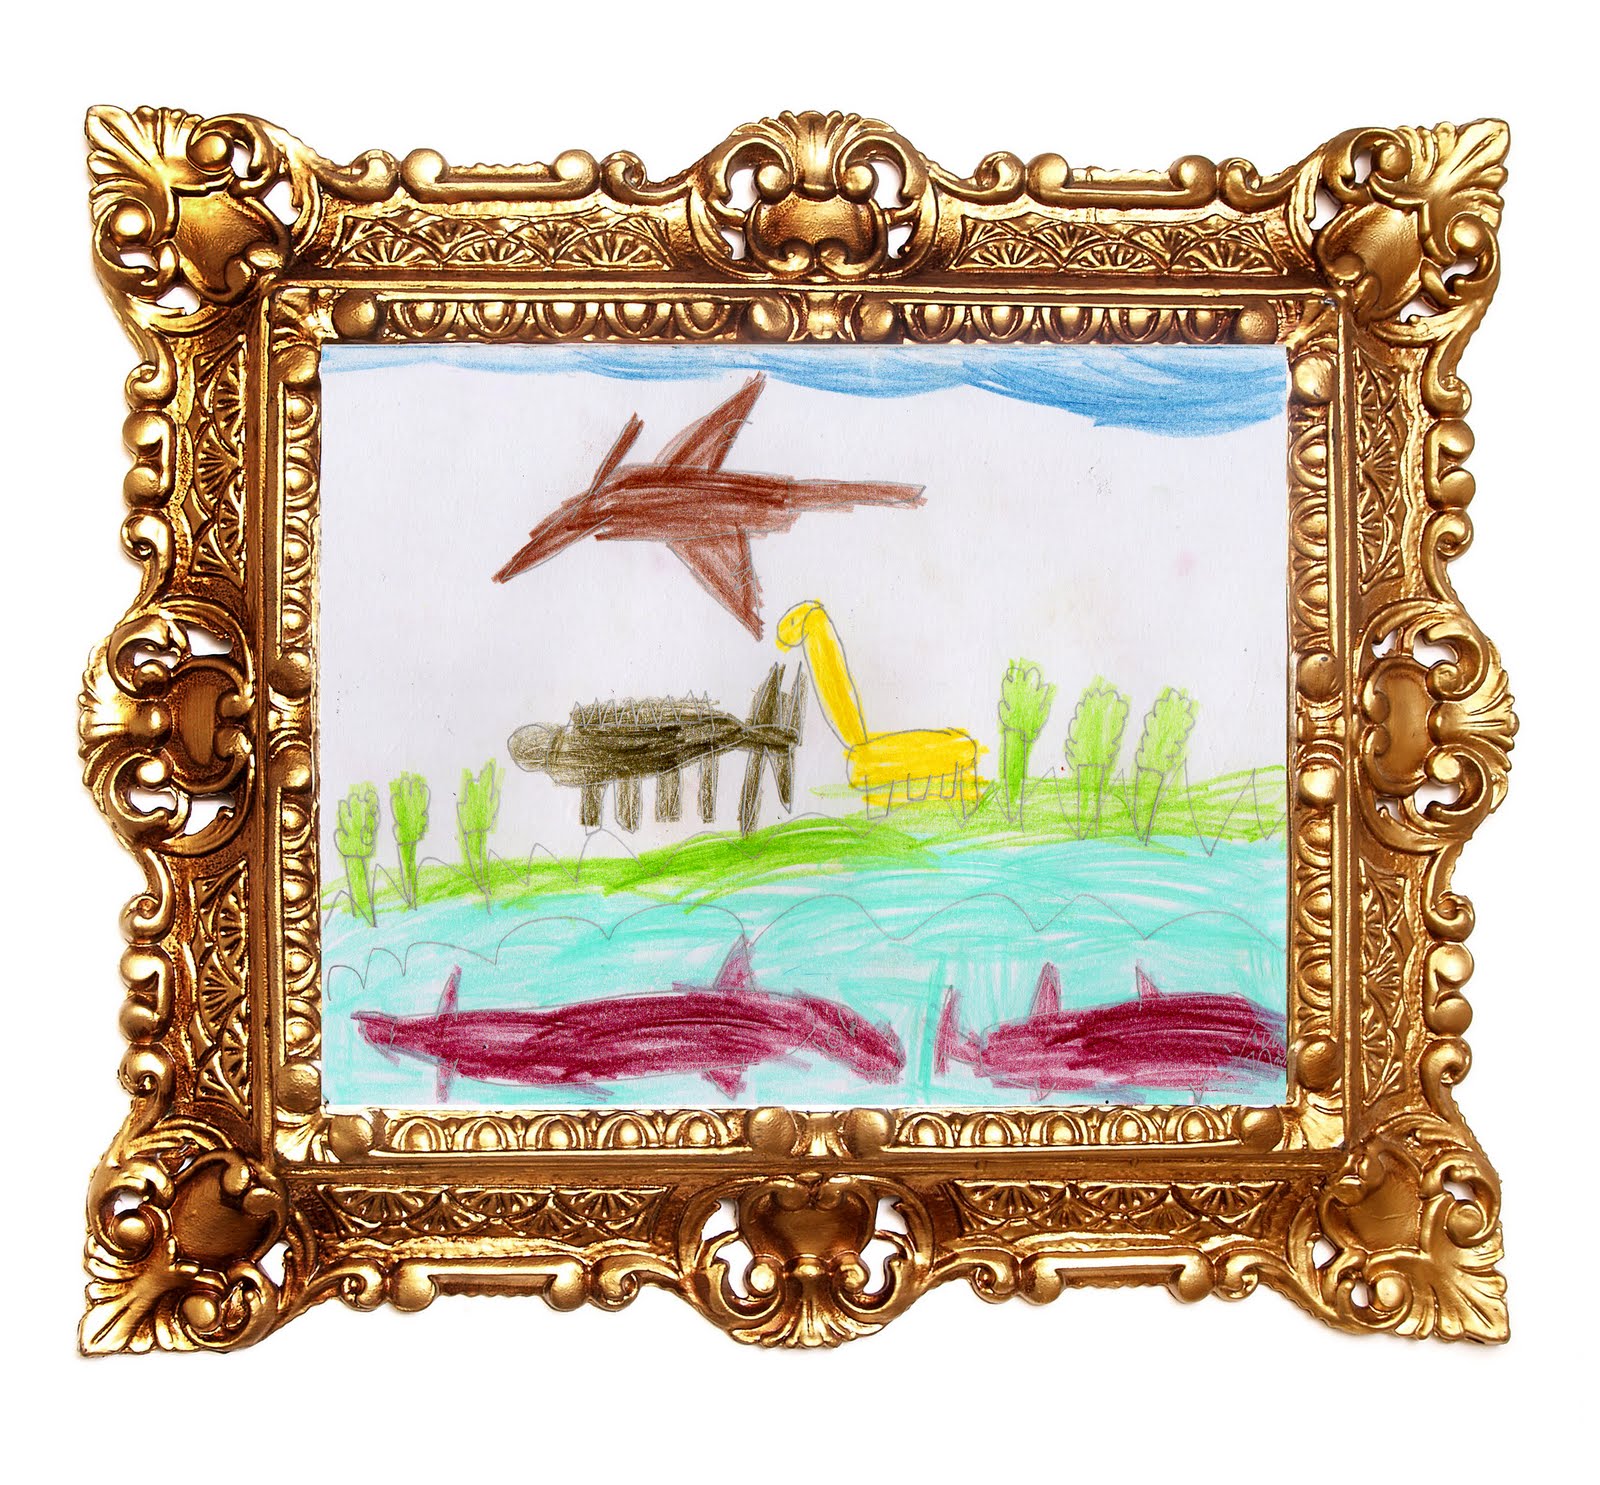
The Featured Artist for this month, is also the Artful Kids Competition winner.  Fiona Reeves submitted this picture by her 5 year old daughter Erin, which I felt was perfect for styling.  Watch this space in a few days time to see her prize - a finished canvas of styled artwork created from the image.

The monthly Featured Artist is normally selected from images uploaded to the Artful Kids Flickr Group.  If anyone has any masterpieces (drawings and paintings) created by children under 12 that they would like to contribute to the group, your contributions would be very welcome.

Thursday, 29 April 2010

Kids Bag Tags

Inspired by Deer Baby's tales of the incredible shrinking crisp packets, I decided to have a go with some shrink plastic.  It's not something I have any experience of, but I found it was really good fun, if sometimes a little unpredictable.  I bought a pack of A4 sheets of ink-jet shrink plastic, which I found on Ebay, and which worked out at about £1 a sheet.  You can print on it (which I fancied doing for my own purposes) or draw on it directly using pencil crayons or felt-tips.  It's great to use with kids too, as it is quick, clean and 'magical'. In fact it's obviously quite popular as a kids activity as Shrinkles produce party and classroom packs for this purpose, and whole ranges of pre-printed packs for kids to use - which are fun, but less creative.

 I thought I'd use it with the kids to create some personalised bag tags for their school and nursery bags.  I divided an A4 sheet into 4 quarters, (Shrinkles in fact produce packs in this size) and gave them a couple of these smaller sheets each to create their drawing on.  I found that for coloured in drawings, the best effect was obtained using pencil crayons.  As the designs shrink, the colours become darker, so that the naturally paler effect of pencil crayons becomes brighter and more vivid once shrunk.  In contrast the bright red fire engine that I created with felt-tip pens, became a muddy brown fire engine once it was shrunk.  Pen is great for providing detail, outline, writing etc., or you can use paler felt-tip colours which can deepen without becoming muddy. The other advantage of pencil crayon is that they don't smudge so easily.  You do have to keep your work as clean as possible, as I noticed that even slight smudges became dirty marks on the finished piece.  This also applies to the reverse side, which it's easy to forget about.

Once the drawing is complete, I cut it out with sharp scissors leaving a narrow white border around the edge.  I found that irregular shapes worked best, as squares and rectangles tended to distort more noticeably.  Maybe there is a way of avoiding this if you are an experienced user, but if so, I'm afraid I'm not aware of it.  Before shrinking, write the child's name on the back of the tag with marker pen, making sure that you write large enough for it to be clearly legible once it has shrunk.  Using a hole punch, make a hole at the top of the tag.

Next comes the exciting stage when you shrink the design in the oven.  My instructions recommended 180 degrees centrigrade for 4-5 minutes, but I have a fan oven, and found that just 2 minutes at 150 degrees was perfectly sufficient.  However all ovens are individual, and it is perhaps worth experimenting a little first.  The shrinkage, according to the instructions with my pack, was supposed to be about 50%, with greater shrinkage occurring across the longer side of a design.  The larger the item is, the more pronounced this effect seemed to be, and I noticed on the Shrinkles packs it says that the results will be up to 7 times smaller and thicker.  The before and after photos below give you some idea of how much shrinkage actually occurred with my samples.  Of course the shrinking stage has to be carried out by an adult, and once the tags have been shrunk, and removed from the oven, they should be left to cool for a few moments before touching.


To protect the image from dirt and finger-prints, and to make it waterproof, a coating of lacquer or varnish is advisable, this will also give you the option of a glossy finish . Spray varnish is better, at least for the first coat, to avoid any smudging that might occur.

The final stage is to add an accessory to attach it to your bag or create a key-ring.  Shrinkles produce a range of accessories for this purpose, and also for making fridge magnets, badges and pencil toppers.


As well as bag tags, smaller drawings can be used to create zipper tags or mobile phone charms.  This is a good use for the offcuts from larger drawings for example.

All in all, this is a simple and satisfying creative activity for both children and bigger kids like me!

Tuesday, 13 April 2010

Art Photobooks


As the stack of artwork created by my children increases, I've been trying to devise ways of keeping and displaying the best, while being a little more ruthless about discarding the rest.  I've already mentioned the Art Portfolio posters which were one response to this, but another approach I've taken is to have some made up into Art photobooks - one for each child.  The idea being that every couple of years or so I have another made.  I love photobooks, they're a wonderful way of displaying your photos at their best, and many companies offer lots of creative opportunities to personalise them further with colours, backgrounds, frames and of course text.  This time I chose Foto.com because I thought they were reasonably priced, offered a fair amount of creative opportunity, and a good choice of book styles.  The process of creating and ordering was pretty straight forward, though I did run into a couple of issues with Firefox.  The problems disappeared however when I used Internet Explorer instead.  I've been really pleased with the result, so I thought I'd share them here.

Monday, 5 April 2010

Children's Art Portfolio Posters


I have recently been developing a few new products for Artful Kids which has been keeping me busy, so over the next couple of posts I thought I would introduce some of them.  The first is a Children's Art Portfolio Poster, which allows you to display up to 27 pieces of your child's artwork, with or without a photograph.  They are available in medium (A2) size, or large (A1) size, either unframed, or mounted with a choice of frame. Each artwork is digitally prepared and edited first, which I have to say is quite labour intensive.


As yet, these are not even available on the Artful Kids website.  This is because the site needs quite a bit of revision, and we're hoping to get online ordering on there soon, so lots of changes will be taking place over the next few months.

Until then, the posters are available exclusively in my NotontheHighStreet shop

Wednesday, 31 March 2010

Is your Child's Artwork important to you?


I am trying to do some 'strategic thinking' in terms of the direction my business should take.  There are lots of different ways in which it, and I could go, and while I have my own opinions about this, I feel that any decision I make really should be informed by the wider world out there as far as possible.

You see, I take the artwork of my children very seriously.  I was, and still am, thrilled to watch my kid's artwork develop, change and progress, and love to encourage them.  I hate to discard any of their work, and the best is carefully preserved, used or presented in a way to really show it off.

However, I sometimes suspect I am not typical in this respect, and that the majority of parents take no more than a passing interest, if any, in their child's work, and while they might stick it on the fridge or on the kitchen wall, or their child's bedroom wall, they wouldn't dream of putting it in the living room for example, let alone have it expensively framed as they might a photograph of the child themselves.

I enjoy doing what I do, and carrying out commissions for people.  The response I get is really satisfying for me personally.  But long-term, as a business, I need to be sure that what I am offering is something that people have an interest in, if it is to develop as I would like.

Admittedly it's very early days, for me to be suffering a crisis of confidence - I have barely started promoting it, but I thought I would at least try to ask the question to inform any decision I make.  So.... is your child's artwork important to you?  Is it something that you would preserve for posterity or display prominently in your house?  What do you normally do with it?  I would love to know what everyone thinks, so please give me your feedback!

Friday, 22 January 2010

Art Materials - Kicking off with Canvas

`


I am introducing a new regular informative series to Artful Adventures on the subject of Art materials - I'm not sure yet quite how regular this will be, but there are lots of art materials out there, with new ones being introduced all the time so there's plenty of material to go at (no pun intended).  I thought I'd kick off with canvas, the most traditional ground for painting, which has undergone such a surge of popularity in recent years.

Canvas, when used as a support for painting, is usually stretched tightly across a wooden stretcher.  Traditionally, these canvases were then framed, though the fashion today is usually to leave them unframed.  Because it was a linen or cotton canvas (the old masters often used hemp which is no longer available) a natural material which will absorb moisture from the air and lose tension over time, canvases were designed to have the capacity to be tightened further at a later date by knocking in small wedges to the corner joints at the rear of the canvas.   Following stretching, the traditional manufacture of a stretched canvas involves painting a coating of glue size over the natural canvas fabric, followed by several coats of primer.  This is to prevent the paint soaking into the material which can ultimately cause it to rot over time.  The primer also gives a bright white background to paint on, giving subsequent paint layers greater brightness and luminosity.  It can also give a smoother surface, though part of the attraction of canvas today is its textural quality.  The disadvantage of canvases, especially large ones, apart from the tendency to sag over time, is that they can warp or twist.  The quality of the stretcher itself is therefore important.  The wood needs to be strong and well-seasoned and the frame needs to have enough bracing to prevent distortion.  Lots of this I have learned by experience - I now only buy quality stretchers for Artful Kids, and have moved to using a polyester based canvas for printing which is less prone to sagging, as it does not absorb moisture.  For painting, the best quality canvases are made using linen, but this is quite expensive, so most of what is available cheaply and ready made will be cotton, though this is less stable and can be prone to mildew.

As with most things, you can make your own canvases from scratch - I was taught how to do this at art school, but my canvases always seemed to be a bit skew-wiff (I don't have brilliant woodworking skills). However if you are after a size of canvas that is not easily available, you can buy the stretcher bars and braces separately (with pre-cut joints), knock them together and stretch your own.  Getting even tension across a large canvas can be tricky however and takes practice.  For standard and especially smaller sizes, it is generally no cheaper to make your own than to buy ready made, especially if you're not too concerned about the quality.  Buying in bulk also cuts down the cost if you are doing some work with a group of children.

Of course canvas doesn't have to be stretched, and unstretched it takes on more of the character of a textile hanging - this too has a history.  During the medieval and Tudor periods, if you couldn't afford to have a genuine tapestry on your wall, you'd hang a 'stained' - or painted linen hanging on your wall instead. At a later date painted and stencilled cloths were also used on the floor as an early form of cheap carpet, and the forerunner of linoleum. When painting on unstretched canvas, you have to restrict yourself to thinner layers of paint to prevent cracking and flaking, unless you are using purpose designed fabric paints. 


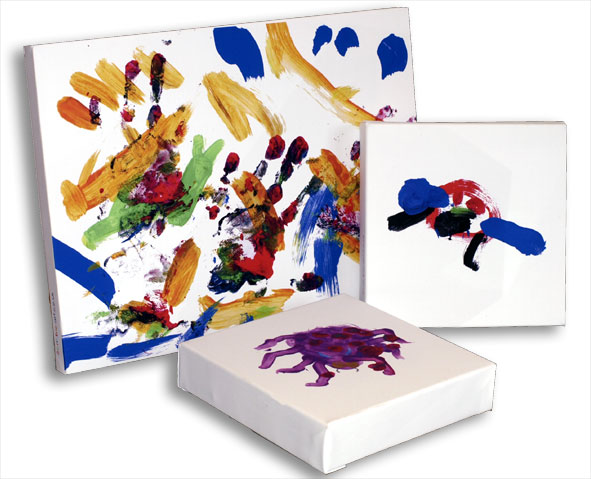
The current popularity of canvases means that you can pick up ready stetched and primed canvases pretty cheaply these days, especially in smaller sizes, but though you may occasionally let your children loose on one, it would be extravagant to let young children them use them all the time.  They're good to use for special occasions, and also for those simple but effective techniques where you can't really go wrong, and are most likely to produce an effective result (for example hand and footprints, splatter painting etc) that you intend to hang on a wall.  However, I recently came across a product at the Early Learning Centre which allows your child to paint on canvas on a regular basis, and wash it when you want to use it again.  It did occur to me that as it appeared to be nothing more than a 1m square of canvas fabric that has been hemmed at the edges, this would be very easy to make yourself, but possibly they have treated it in some way to become stain resistant.  (I'm afraid I have an almost reflex action when looking at anything I like, that automatically causes me to consider whether I could make it myself. Being brought up in an 'economically challenged' family was a great stimulus to my creativity!)  The advantage with this is that if your 2 year old does unexpectedly create a masterpiece, you can keep it unwashed and hang it on the wall, or even have it stretched perhaps.  After all for £10 it's not particularly expensive.


If you want the textured effect of canvas, but are not particularly interested in the bulk of a stretched canvas, then you can buy canvas board- this is essentially a hardboard base with a white primed canvas style surface.  It feels different to paint on, as it does not have the same 'give' or flexibility as a stretched canvas, but at times this might be an advantage. Canvas board has the advantage also that if the size is appropriate, instead of hanging it on the wall, you can add some felt to the back and use it as an artistic place mat. Again you can make your own canvas board much more cheaply, but you have to weigh up whether the extra hassle is worth it.


For sketches and preliminary work or where you want the effect of canvas without too much hassle or expense, there are the pads or blocks of paper designed for oil and/or acrylic work. Canvas paper has a linen effect texture which can be used quite effectively with pastels, crayons and charcoal as well as with paint.  A sheet can always be mounted or glued onto board if more support is required.

Finally of course, if all else fails, you can always cheat and ask me to put the masterpiece your child has produced on paper, onto canvas.  This has the added advantage that it will be presented at its best, with all those creases, smudges and tears removed.  Visit Artful Kids for full details.

This is only intended to be a very basic introduction to canvas as an art material - hopefully I haven't bored everyone rigid, but for anyone with a more serious interest in finding out about canvas as a painting support, there is of course lots more material out there on the internet.  A few examples are given here:

Making a Hand Made Canvas for Painting on
How to Prime and Stretch a Canvas
The Artist's Canvas


Saturday, 5 December 2009

Featured Artist with a Seasonal Theme


My 5yr olds Christmas Picture by HotdogandMe.

My second Featured Artist has been chosen with a seasonal theme.  This contribution was made by HotdogandMe, and is the work of her 5 year old daughter.  It shows Santa in his sleigh in a starry sky, a Christmas tree, snowman, and house with people.  I love this picture, and it reminds me of the work of my own 5 year old.
Thank you to everyone who has uploaded images so far to the Artful Kids Flickr Group - keep them coming!

Tuesday, 10 November 2009

For Budding Artists and Aspiring Art Thieves

It's something of a cliche to look at a modern abstract work of art, and compare it with your 3 year old's latest masterpiece, but now you can take it a step further and get an authentic 'critique' of your child's artwork by a professional.  I first saw the service offered by Charles Kinbote (the pen name of a professional writer for whom this is a light-hearted side-line) a couple of years ago, when I was thinking about setting up Artful Kids, as my initial idea for the site was simply to offer a service where children's art is presented as if it were a gallery style poster (see below), and I thought that the commentaries made a perfect accompaniment.  To explain in more detail, Kinbote's Bespoke Art Commentary Service is dedicated to providing an appreciative, witty, wonderfully pretentious and bespoke review of a child's painting or drawing, and has apparently been used by several celebrities for their children, including Tilda Swinton, and Kate Moss.  The ideal age of the artist is about 2-6 years old.  Parents email an image of the artwork, and the child answers a series of basic questions.  Once complete, the finished product is supplied printed, framed and boxed to display alongside your child's artwork.  Click here to read an example.


Featured Artist
Thank you to those of you who have joined and uploaded photos of your children's artwork to the Artful Kids Flickr group.  This week I am introducing the first of my featured artists - hopefully the first of many, but I need more group members to upload photos if this is going to be anything like as regular a feature as I would like it to be.  Remember the artwork (paintings and drawings only) needs to have been done by a child under 12 years old, and please make the photos as good as you can, since I can't really use poor quality images.


Fashion illustration, contributed by PrettyGoods, whose daughter Tess produced this work at the age of 11.  I think she shows real artistic talent, and love her creative use of backgrounds.


If you would like to contribute your own photos to the group, the address is:
http://www.flickr.com/groups/artfulkids


And Finally....

Out shopping for a present for my younger son's 3rd birthday, I spotted a toy in the Playmobil range, which made me do a double-take.  It was a 'jewel thief' set, which came complete with security guard, thief, grappling hook and other suitable tools, museum display case, artwork and easel.  Everything the aspiring young jewel or art thief needs to perfect their technique.  I'm not quite sure what message this is meant to portray to the younger child which Playmobil is aimed at - in fact I'm not sure myself whether to be amused or outraged?!  However, it appears to be part of a whole range of police, security, special agents and thieves - I suppose it's just art (or in this case toys) imitating reality - but how far do you take it at such a young age?


Tuesday, 27 October 2009

Learning to Draw

This week I thought I’d take a look at how children’s artwork develops from their earliest scribbles and daubs, through to about the age of 11 or 12.  Although all children will show the same broad developmental stages, the age at which they are reached may vary a little from child to child.  In spite of this, within each stage every child will have their own particular style and characteristics which reflect their personality.  The terminology used for the different stages, does appear to vary somewhat according to the author you read, but broadly the development is as follows:

Beginnings

The earliest stage, which begins at around 18 months or a little earlier, is that of simple scribbling.  To begin with, the scribbles are entirely random since the child does not yet have the control necessary for anything else.  The earliest scribbles are a series of left and right motions, then later, circular motions are added as more control develops.  The markings can be strong or light according to the child’s personality.  From about their second birthday, as the child gains more muscle control, a more controlled form of scribbling starts, and more demanding patterns of simple shapes, circles, wavy lines and crosses are produced.  The child also becomes interested in arrangement and can produce simple collages of coloured paper, or place stones in patterns.  Once children have established this ‘controlled scribbling‘, they begin to name their scribbles - an important milestone in their development.  Though the appearance of this work may be simple, the first scribbles a child makes are precious.  I still have the earliest drawings that my 2 boys ever made, and I don’t intend to throw them away - they are as important to me as the lock of hair from their first hair-cut (well actually 2nd or 3rd hair cut in the case of my eldest son, since I kept losing it!) or their first words.


The next stage of scribbling is when the child begins to name their scribble.  I think this is just about the stage that my 2 (soon to be 3) year old has reached.  He will do what appears to be a not entirely random scribble with red crayon, and tell me that it is a fire-engine, or choose a yellow crayon and tell me his drawing is a banana.  I have to take his word for it, as they appear completely abstract to me.  However, in his mind, that’s what it is.


Increasingly though now, I am beginning to see the occasional more recognisable shape appearing, which he takes great care with.  It appears that the act of drawing is now less about the action, than the storytelling, or a more imaginative approach.  He may have been influenced in this a little by his elder brother, but it appears that he is now approaching a crucial stage that children go through as their artistic prowess develops, the stage where true recognisable representations first occur.  As a parent, I find this stage quite exciting, as it offers further insight into the mind of your child. 


Representation

This next stage, which normally occurs from about the age of 3 is usually called ‘pre-symbolism’ or ‘pre-schematic’ and this represents the first conscious creation of form.  The earliest recognisable drawings are usually simple figures, created by combining circles and lines.  This reflects the child’s social progress.   Other forms develop as time goes on,  and the symbols constantly change as new concepts develop.  The drawings usually indicate what the child thinks is most important about the subject, and objects are placed apparently randomly on the page.   Realism is not the objective here - the child is representing a concept rather than observing.  Emotions will influence their drawings more than reality, so that when a child draws mummy next to a house, she may be depicted larger than the house, because she plays a more important part in the child’s life.  The use of colour is also more emotional than logical.


At around the age of 4 or 5 children will start to develop more complex stories around their drawings, changing basic forms as needed to express them.  As their social world broadens and they start school, children enter the ‘schematic’ or ‘symbolic’ stage.  Realism is still not the objective, instead the child creates a vocabulary of images or their own set of symbols which are based on their understanding of what is being drawn rather than on observation.  Each child’s symbols are therefore unique to the child.  You will still see exaggeration between figures used to express strong feelings about a subject.

It is at about this stage that a greater awareness of the concept of space develops.  The beginnings of composition appear, items in the drawing will begin to be spatially related, and the familiar ‘baseline’ at the bottom of the paper is introduced to organise the space on the page.  Often green (to represent grass) the figures will stand on this line.  Slightly older children may add secondary baselines for background objects, and a blue skyline for the sun and clouds.  This is the stage which my elder son, at just turned 5 has reached - he has been using a base line at the bottom of the page and a sky line at the top for several months now.  Apparently at 3, just 1% of children will use a baseline (so if your 3 year old is using one, they are artistically advanced!), while at 8, a massive 96% will use one.  At this point cultural influences become more important.  For example they may start copying cartoons or things they see on TV.  My son has been heavily into this for about a year now, especially Power Rangers and Transformers.  Other typical features are that colours become more naturalistic, and objects in the drawing have a relationship to what is up and what is down.


Reality Bites

As the child matures and reaches around 9 years old, they begin to have an increased concern for realism, and find that their generalised symbols are too limiting and don’t look like the real thing.  This is the first time that the child becomes aware of their lack of ability to depict things realistically, and it can be a frustrating time for some, as their aspiration outstrips their abilities and knowledge.  Some children give up on drawing almost entirely at this point.  However others become skilled, and it is at this stage that formal artistic training can benefit the child most.  At first this new attention to realism often manifests itself by an increasing concern for detail, and there is a conflict between how the subject actually looks and what the child knows about the object.  Formal training which will teach them how to see and observe- for example leaves are not just green, the sky is not just blue - and an introduction to the rules of perspective, can help to resolve the conflict.  However, even without this, some children do start to show an appreciation of basic perspective - the baseline disappears, and they will begin to depict overlapping objects and a horizon, along with the use of small to large objects, to represent distance.  Some use of shading is also seen.


At this ‘gang stage‘, a child can have a level of self-awareness to the point of being extremely self-critical, and their drawings are often less spontaneous as a result.

Bizarrely my elder son, being something of a perfectionist, sometimes seems to be exhibiting the kind of behaviour expected at around 9 years old, even though he is only 5, in that quite often if his drawing does not conform to what he is trying to do (or has seen me do) he will announce in frustration ’that’s rubbish‘, screw it up and go into a sulk.  I am trying to combat this by showing him ways of ’salvaging’ mistakes, or even the idea of the ’happy accident’ where you capitalise on them, and by generally emphasising the importance of practice, learning and experience.  I think I’m having some success, but sometimes it’s a hard slog!


And Finally….
The final, pre-adolescent stage occurs at around the age of 10-13.  At this stage, as indeed we saw earlier, the importance the child attaches to realism, often discourages them.  Unfortunately many people remain in this stage throughout adulthood because they do not continue trying.

Of course I have only touched the surface here of a much more in-depth field, so if anyone wants to explore it further, the following references and suggestions for further reading may help - I intend to explore them further myself at some point!


Herbert Read 'Education Through Art' 1966
Rhoda Kellog 'Analysing Children's Art' 1970Viktor Lowenfeld  'Creative & Mental Growth' 1978
David Lewid & James Greene 'Your Child's Drawings:Their Hidden Meaning' 1983


http://en.wikipedia.org/wiki/Child_art